
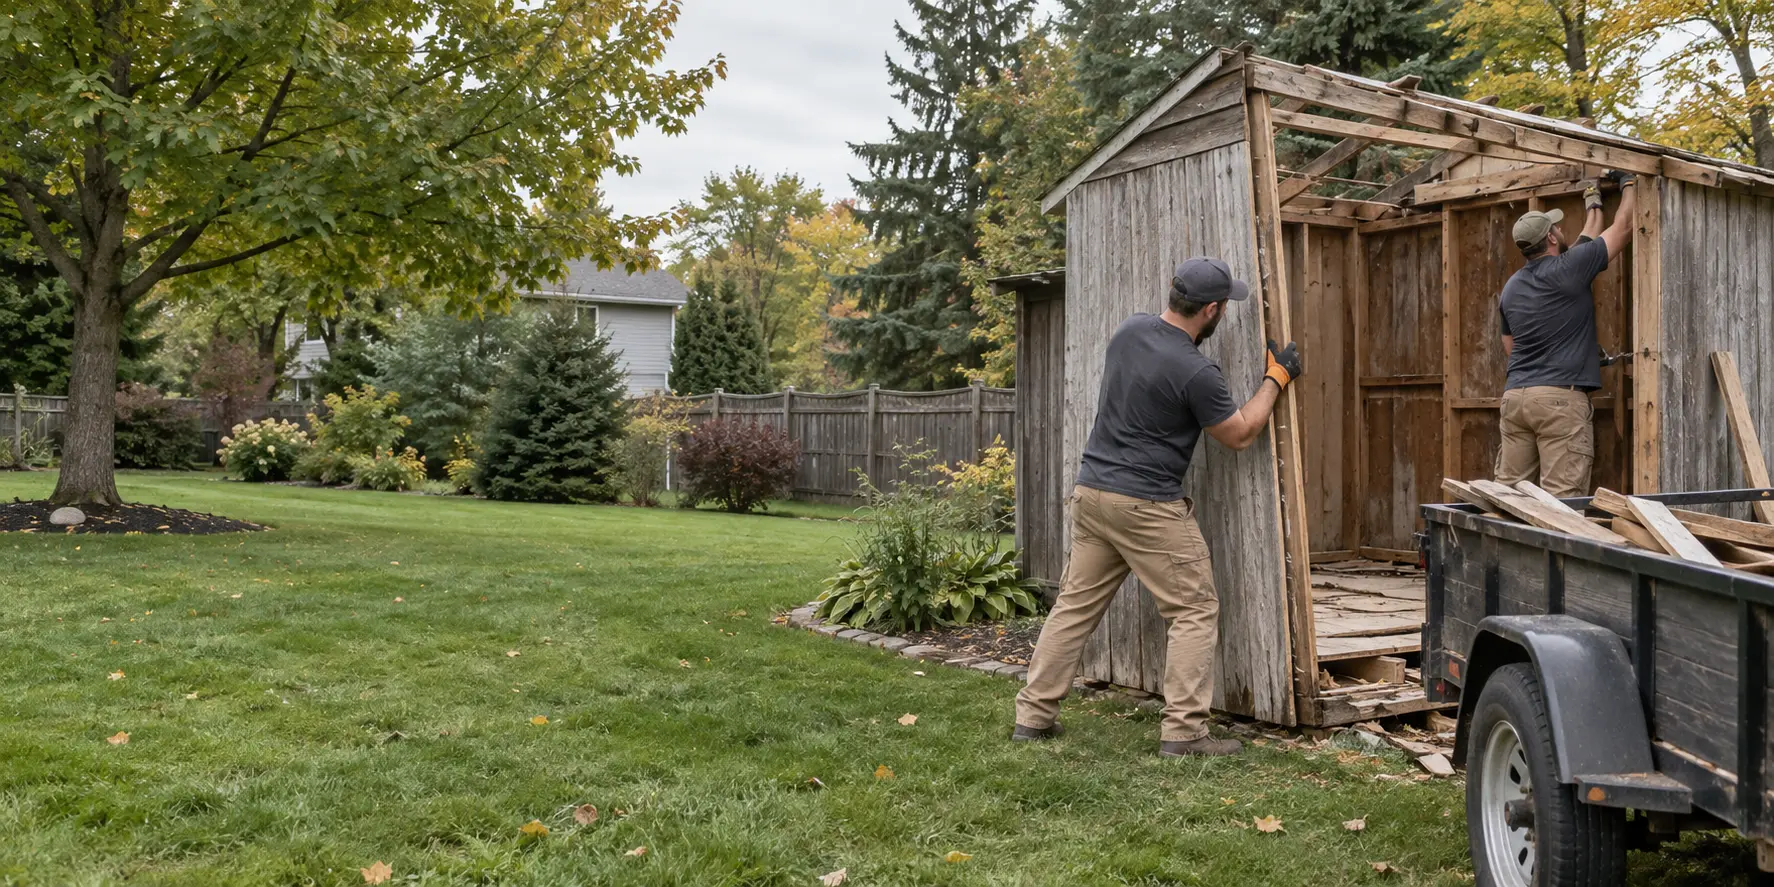
A clear route from the shed to the loading area matters as much as the shed itself. Measure the narrowest point and photograph every turn before the estimate.
Measure the whole path
Start at the street or driveway and walk to the shed. Record gate width, steps, slopes, low branches, tight corners, and soft sections of lawn. Measure the narrowest opening, not the average width. A wide gate does not help if an air conditioner or fence corner creates a pinch point farther in.
Access checklist
- Gate opening measured with hinges and latches included
- Driveway or legal parking location identified
- Children and pets kept away from the work route
- Vehicles, hoses, furniture, and garden tools moved
- Sprinkler heads and shallow landscape features marked
- Neighbors informed if shared access may be affected
Empty the shed with three zones
Set aside items to keep, items to discuss for removal, and items that need special handling. Do not leave fuel, chemicals, paint, batteries, or pressurized containers mixed with ordinary contents. Photograph anything you are unsure about.
Protect what cannot move
Point out fragile plantings, fence sections, windows, utility equipment, and recently finished surfaces. Crews can plan around visible constraints, but buried edging and unmarked irrigation are easy to miss.
Watch the ground conditions
Rochester-area lawns can be soft after rain and during spring thaw. If materials must cross grass, tell the estimator about drainage, slopes, and low spots. The plan may change with weather even when the shed itself is small.
For a route-focused plan, see backyard shed removal. A few accurate measurements make the estimate more useful than a dozen close-up photos.